 Aethelgard Press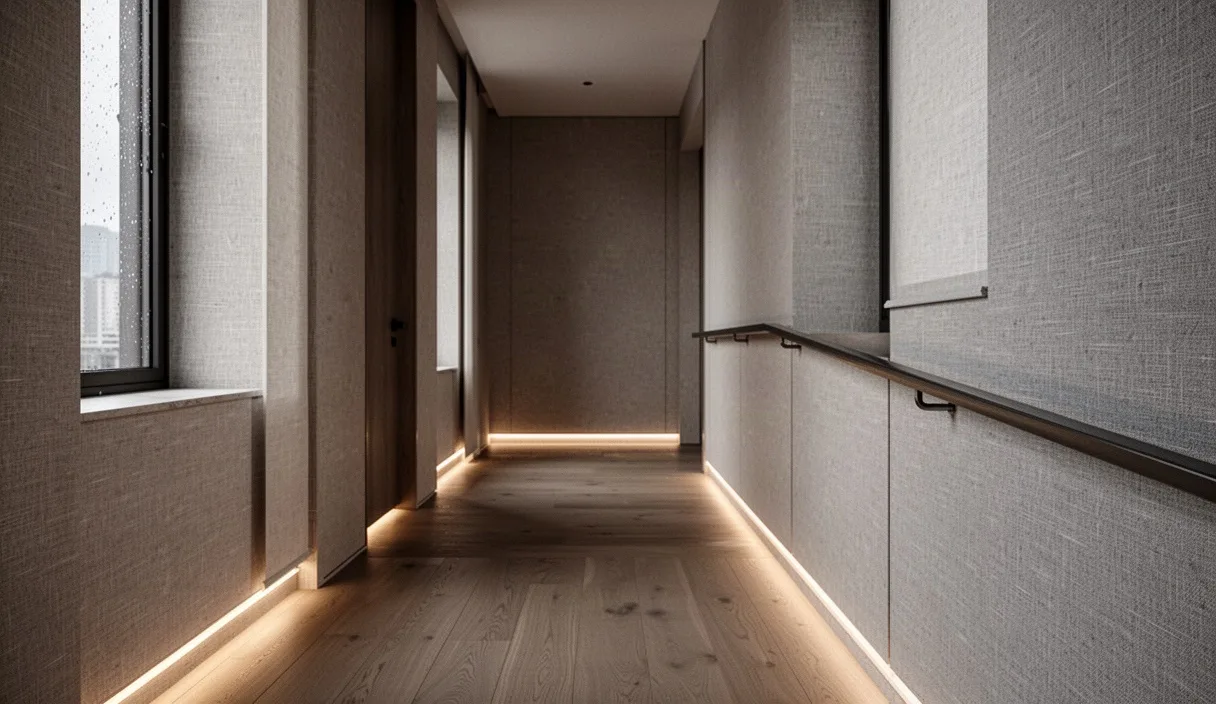
Most fall-prevention advice treats the home as an extension of a hospital ward. Catalogs push ribbed white plastic rails, suction-cup handles, and industrial rubber mats that broadcast physical decline. This aesthetic compromise is unnecessary. Biomechanics and architectural design operate on the same rules of physics: leverage, friction, and visual contrast do not require institutional materials to keep you upright. By addressing balance risks through solid carpentry, calibrated lighting, and durable finishes, you make living spaces safer while preserving architectural character.
Every structural modification should solve a specific mechanical problem. Falls occur when friction drops unexpectedly, when feet snag on uneven planes, when visual input fails to guide motor planning, or when balance falters without an anchored handhold nearby. Addressing these failure points requires attention to tolerances, load paths, and installation standards. If you execute these details properly, the modifications look intentional, permanent, and integrated into your home design.
Mapping Your Home for High-Probability Fall Zones
A systematic audit begins with friction boundaries and transitional movements. Balance failures concentrate where flooring materials change, where tasks require reaching or turning, and where lighting levels shift abruptly. Do not rely on assumptions about where people fall; look at the physical mechanics of daily routines. Trace the path from the mattress to the bathroom toilet in complete darkness. Examine the pivot point in front of the kitchen sink, the threshold between the kitchen tile and the living room hardwood, and the exterior door steps where moisture accumulates.
Identify vertical transitions and pivot zones first. Getting into and out of an armchair or bed involves a shift from dynamic forward lean to vertical weight-bearing. When leg strength or vestibular feedback lags, people look for support. If that support is an unstable floor lamp, a rolling dining chair, or a lightweight side table, it will shift and cause a fall. Mark every location where an individual naturally reaches out a hand to steady themselves during a turn or a sit-to-stand movement.
Wet areas demand separate scrutiny. In bathrooms, the highest risk occurs during the transfer over the tub lip or shower curb, where soapy water cuts the dynamic coefficient of friction to dangerous levels. In kitchens, grease mist and spilled liquids create spot hazards in front of ranges and dishwashers. Cataloging these zones creates a prioritized floor plan for mechanical improvements rather than guesswork.
Thresholds, Floor Finishes, and Rug Anchoring Solutions
Abrupt floor height changes cause trips when shoe soles fail to clear the rise during the swing phase of a stride. A vertical edge as small as a quarter-inch can catch the toe of a shoe or slipper. Where different flooring materials meet, install beveled hardwood or solid brass transition strips with a maximum rise of one unit vertical to two units horizontal. If a height difference between rooms exceeds a half-inch, replace the standard casing with a custom-milled reducer that extends the incline over twelve to eighteen inches, creating a gradual ramp that eliminates the tripping edge entirely.
Rugs require aggressive mechanical anchoring. Decorative rugs sitting on polished hardwood or tile slide under horizontal shear force when stepped on at an angle. Throw rugs with curled borders present the worst risk. If you keep area rugs, secure them using one of two proven approaches:
- Natural rubber and felt pads: Use a dense, quarter-inch-thick combination pad cut one inch smaller than the rug perimeter. The rubber grid grips the underlying floor through friction without sticky residues, while the felt upper layer prevents the rug from rippling under foot traffic.
- Direct perimeter adhesion: Apply commercial-grade double-sided acrylic adhesive tape along the entire perimeter border of the rug backing. Press firmly against clean, wax-free flooring to lock the edges flat against the subfloor, preventing edge curl.
When selecting hard flooring or applying protective coats to existing surfaces, verify the Dynamic Coefficient of Friction (DCOF). For level interior spaces expected to stay dry, select surfaces with a wet DCOF rating of at least 0.42 based on the ANSI A326.3 standard. In bathrooms, utility rooms, and entryways where water collects, select tiles or finishes rated at 0.60 or higher. Avoid high-gloss polyurethane floor coats, which mask depth perception and become slick with light moisture. Matte and satin oil-polyurethane finishes provide better tactile grip and disperse glare from overhead lights.
| Flooring Surface | Typical Wet DCOF | Suitability for Wet Zones | Recommended Treatment |
|---|---|---|---|
| Polished Marble / Granite | 0.28 - 0.35 | Unacceptable | Hone finish or apply micro-etching chemical treatments |
| High-Gloss Hardwood | 0.30 - 0.40 | Poor | Sand and refinish with a matte commercial-traffic urethane |
| Matte Glazed Porcelain | 0.45 - 0.55 | Moderate | Suitable for kitchens; use perimeter rugs with rubber backing |
| Textured Quarry Tile | 0.60 - 0.75 | High | Optimal for showers and mudrooms; clean grout lines regularly |
Integrating Structural Grab Bars into Modern Bathrooms
Suction-cup handles fail without warning when temperature swings or microscopic grout imperfections break the vacuum seal. Reliable fall prevention requires grab bars engineered to meet the commercial standard of supporting at least 250 pounds of shear and tensile force. Achieving this strength does not mean installing commercial stainless steel pipes that evoke public restrooms. Architectural hardware manufacturers produce load-rated bars in matte black, unlacquered brass, oil-rubbed bronze, and brushed nickel that match luxury plumbing fixtures.
Proper anchoring requires access to the wall framing. During a full remodel, install horizontal solid wood blocking between studs using two-by-six or two-by-eight structural lumber secured with three-inch framing screws. Set this blocking between 33 and 36 inches above the finished floor to establish an anchor line throughout the shower and around the toilet. If you install hardware onto finished tile without opening the wall, use structural hollow-wall anchors such as stainless steel toggles specifically rated for dynamic shear loads over 300 pounds in cement backer board.
Select hardware that performs dual roles to preserve the visual design of the room. High-end hardware lines include:
- Load-rated towel warmers: Wall-mounted radiant rails anchored directly into studs, providing warming functions alongside tested grab-support capability.
- Structural corner shelves: Solid brass or stainless steel triangular shelves with integrated perimeter grab rims, secured through tile into solid backing.
- Reinforced slide bars for hand showers: Vertical slide poles with one-and-a-quarter-inch outside diameters anchored with concealed structural flanges rather than decorative set-screws.
Maintain consistent physical dimensions for safe operation. A grab bar must have an outside diameter between 1.25 and 1.5 inches to allow a complete, secure power grip by human hands. Provide exactly 1.5 inches of clear space between the bar and the finished wall surface. Gaps narrower than 1.5 inches pinch fingers, while wider spaces allow an arm to slip completely through during a slip, leading to severe twisting fractures.
Nighttime Pathway Lighting That Preserves Night Vision
Waking up in the dark leaves the human eye poorly adapted to sudden brightness. Turning on standard overhead lighting floods the room with high-kelvin white light, contracting the pupils immediately and washing out peripheral depth perception. When you turn that light back off, functional blindness persists for several minutes. Pathway illumination must guide feet along baseboards without activating the visual photopic state or disturbing circadian rhythms.
Light fixtures should operate between 2200K and 2700K color temperature, leaning into warm amber spectrums. High-energy blue wavelengths suppress melatonin and cause harsh glare on reflective floors. Mount continuous, low-output LED tape channels beneath the toe-kicks of kitchen and bathroom cabinets, or recess them along baseboards in hallways. Shield the light source so that bare diodes remain invisible to the walking eye. The light must wash down across the floor plane, casting short, soft shadows that delineate changes in plane, baseboards, and door jams.
Control these circuits using passive infrared (PIR) sensors set to low-lux thresholds. Place the sensors five to eight inches above the baseboard at the bedside and bathroom entrance. Position the sensor lens so it triggers only when feet swing out of bed toward the floor, not when you roll over under the covers. Calibrate drivers to deliver between 5 and 15 lumens per linear foot of pathway. This provides sufficient visual reference to track boundaries and level changes while keeping pupils dilated enough to read shadow depth accurately.
Staircase Geometry and Dual-Handrail Installations
Stairs present the highest statistical consequence for falls in residential properties. Most building codes require only a single handrail along open stairs, forcing individuals descending the wide side to step without hand support. Adding a second, matching handrail creates balanced points of leverage, allowing individuals to steady their center of gravity with their dominant hand on both ascent and descent.
Handrail geometry directly affects grip efficiency. Decorative rectangular rails with flat, wide tops look modern but resist a closed-finger power grip. When a foot slips on a stair tread, an open pinch grip on a flat board cannot hold human body weight against gravity. Use round or oval profiles with an outside diameter between 1.25 and 2 inches. If a square or rectangular design is mandatory for aesthetic reasons, select a profile with an undercut finger groove along both sides that allows fingers to curl inward beneath the top surface.
- Locate and verify framing: Use a magnetic or deep-scan stud finder to find wall studs along the stair rake. Mark stud centers every 32 to 48 inches along the wall.
- Set the installation height: Measure vertically from the leading edge (nosing) of the stair treads to the top surface of the handrail. Maintain a uniform height between 34 and 38 inches across the entire run.
- Anchor heavy-duty brackets: Fasten solid cast-metal brackets into the center of the wall framing using three-inch stainless steel or hardened structural screws. Fasteners driven solely into drywall or plaster will rip free under the dynamic shock load of a falling adult.
- Extend beyond the risers: Terminate handrails by extending them horizontally at least 12 inches past the top riser and the bottom tread nosing. Return the ends smoothly into the wall surface to prevent clothing, pocketbook straps, or walking aids from catching on raw ends.
Inspect the tread geometry across the entire flight. Tread depth should measure no less than 11 inches from riser to riser, with a consistent riser height between 7 and 7.75 inches. Variations in riser height greater than three-eighths of an inch across a flight disrupt subconscious muscle memory, causing trips. Apply clear silica-based traction strips or route shallow, slip-resistant rubber inserts directly into the nosing of finished hardwood steps to add traction without altering the natural timber appearance.
Common Mistakes
The most frequent errors occur when convenience replaces structural discipline. Avoid these specific design and installation shortcuts:
- Relying on adhesive or suction-mounted fixtures: No chemical adhesive or vacuum seal maintains load capacity across cycles of bathroom steam, humidity, and temperature shifts. Use mechanical fasteners driven into framing lumber.
- Installing glossy high-contrast floor patterns: High-contrast black-and-white tiles or sharp geometric patterns confuse depth perception for individuals with changing vision, creating optical illusions of steps or holes where floors are level.
- Leaving gaps in pathway lighting: Dark patches between illuminated zones require eyes to constantly readjust their focal aperture, temporarily blinding walkers to low-profile obstacles.
- Accepting loose handrail brackets: Brackets held by standard hollow drywall anchors or plastic plugs work loose over months of light balance-checking and pull free completely during an actual slip.
Practical Next Steps
Begin with an objective inspection of daily transit routes. Walk your home with a notepad, focusing exclusively on transitional thresholds, shower entries, and stairs. Note where your fingers instinctively touch walls for stabilization, inspect the bottom edges of all rugs for curling, and measure the height differences across doorways with a tape measure.
Address simple mechanical friction first. Tape down rug perimeters, replace slick floor waxes with matte treatments, and install automated amber nightlights along bedroom paths. These interventions require minimal tools and eliminate immediate trip risks within an afternoon.
For structural modifications, consult a licensed general contractor or a certified aging-in-place specialist. Have them verify wall framing with an inspection camera or stud finder before purchasing architectural grab hardware or custom dual handrails. Solid framing makes the difference between decorative trim and life-saving structural support.